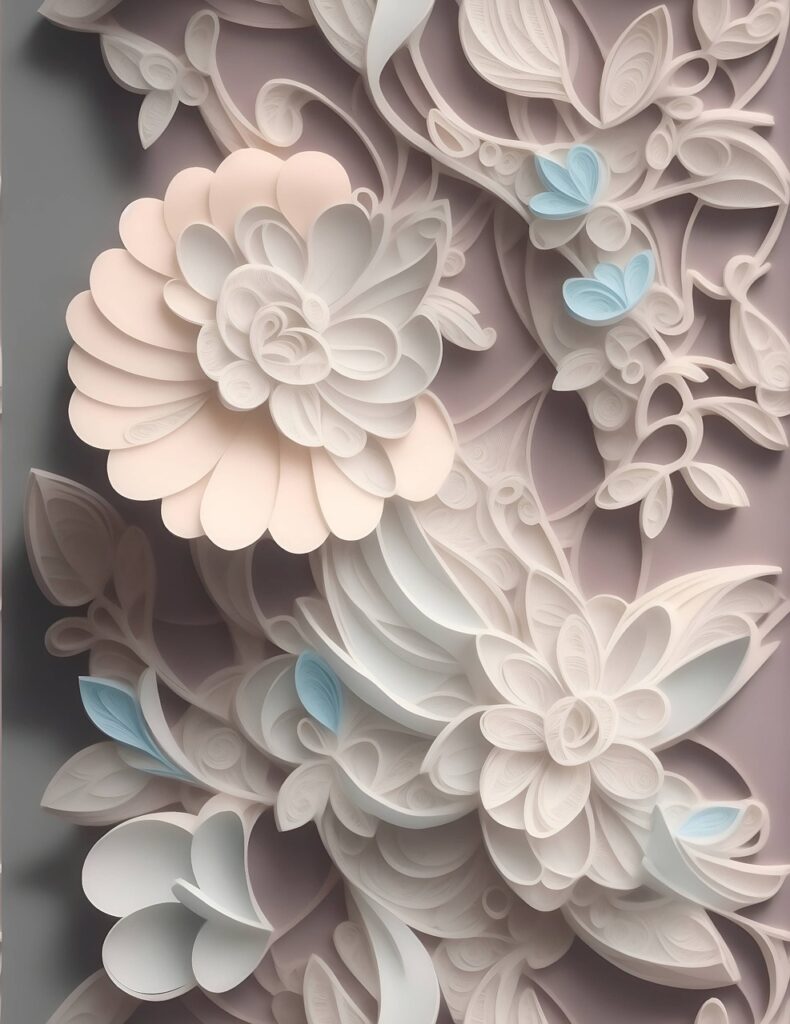
Introduction: Transform simple strips of paper into intricate and elegant wall decor with the art of paper quilling. In this tutorial, we’ll guide you through the process of creating stunning designs using this timeless craft technique.
Materials Needed:
- Quilling paper strips (assorted colors)
- Quilling tool (slotted or needle tool)
- Glue (craft glue or quilling glue)
- Tweezers
- Quilling board (optional)
- Frame or mounting surface for display
- Optional: Varnish or clear sealant
Step-by-Step Instructions:
- Choose Your Design:
- Select a design or pattern for your paper quilling wall decor. This could be a simple shape, intricate motif, or abstract composition.
- Prepare Your Paper Strips:
- Cut quilling paper strips to the desired lengths and widths for your chosen design.
- Experiment with different colors and sizes to add visual interest to your quilled artwork.
- Start Quilling:
- Use a quilling tool to roll the paper strips into coils, starting from one end and working towards the center.
- Experiment with different techniques such as tight coils, loose coils, or marquise shapes to create variety in your quilled elements.
- Shape and Mold:
- Once you have a collection of quilled coils, use tweezers to shape and mold them into desired forms.
- Create loops, teardrops, or scrolls by gently pinching and manipulating the quilled paper.
- Assemble Your Design:
- Arrange the quilled elements on a flat surface to plan out the composition of your wall decor.
- Experiment with different arrangements and layouts until you find a design you’re happy with.
- Glue the Elements:
- Use craft glue or quilling glue to adhere the quilled elements together, one piece at a time.
- Apply a small amount of glue to the base of each element and press it firmly onto the mounting surface.
- Add Layers and Details:
- Continue building up layers and adding additional quilled elements to enhance the depth and dimension of your design.
- Incorporate flourishes, spirals, or tendrils to fill in empty spaces and add visual interest.
- Let the Glue Dry:
- Allow the glue to dry completely before handling or moving your quilled wall decor.
- This may take several hours depending on the type of glue used and the humidity levels in your environment.
- Mount or Frame:
- Once the glue is dry, mount your quilled artwork onto a frame or mounting surface for display.
- Consider adding a decorative border or matting to complement your design.
- Optional: Seal the Surface:
- To protect your quilled wall decor from dust and moisture, consider applying a coat of varnish or clear sealant.
- This will also enhance the colors and add a subtle sheen to your finished artwork.


