Introduction: Indulge in self-care with this easy DIY tutorial for making your own natural lip balm. Nourish and moisturize your lips with simple, skin-loving ingredients that you can customize to your preference.
Materials Needed:
- Beeswax pellets or beeswax bars
- Coconut oil
- Shea butter or cocoa butter
- Essential oils (optional, for fragrance)
- Lip balm containers or tubes
- Double boiler or microwave-safe bowl
- Stirring utensil (spoon or spatula)
- Measuring cups or kitchen scale
Step-by-Step Instructions:
- Prepare Your Work Area:
- Clean and sanitize all equipment and surfaces that will come into contact with the lip balm ingredients to ensure a hygienic process.
- Measure Ingredients:
- Using a kitchen scale or measuring cups, measure out the following ingredients:
- 1 tablespoon of beeswax pellets
- 2 tablespoons of coconut oil
- 1 tablespoon of shea butter or cocoa butter
- Using a kitchen scale or measuring cups, measure out the following ingredients:
- Melt the Ingredients:
- In a double boiler or microwave-safe bowl, melt the beeswax pellets, coconut oil, and shea butter together until fully melted and combined.
- If using a microwave, heat in short bursts, stirring in between, to prevent overheating.
- Add Essential Oils (Optional):
- Once the mixture is melted, remove it from the heat source and allow it to cool slightly.
- If desired, add a few drops of your favorite essential oils for fragrance. Popular choices include peppermint, lavender, or citrus oils.
- Pour into Containers:
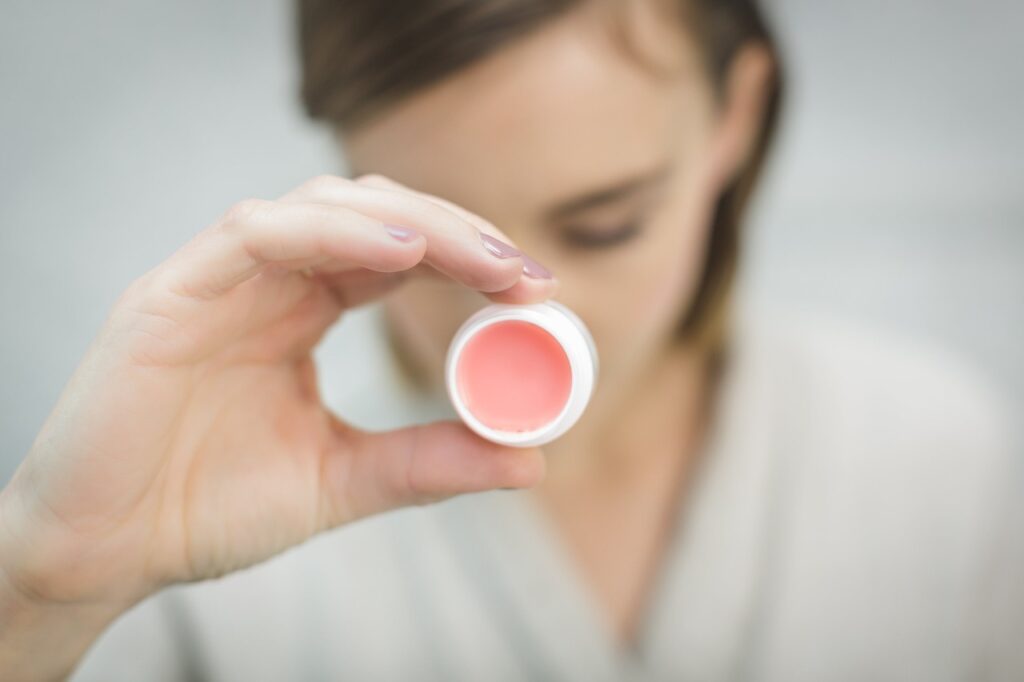
- Carefully pour the melted lip balm mixture into lip balm containers or tubes, filling them almost to the top.
- Work quickly as the mixture will start to solidify as it cools.
- Let Cool and Set:
- Allow the lip balm containers to cool and set at room temperature for several hours or until completely solidified.
- Avoid moving or disturbing the containers during this time to prevent any uneven surfaces or air bubbles.
- Label Your Lip Balms:
- Once the lip balms have cooled and solidified, label each container with the date of creation and any other relevant information, such as the ingredients used or fragrance added.
- Store and Use:
- Store your homemade lip balms in a cool, dry place away from direct sunlight to prolong their shelf life.
- Use as needed to moisturize and protect your lips from dryness and chapping.
- Customize Your Creations:
- Get creative and customize your homemade lip balms by experimenting with different combinations of oils, butters, and essential oils to create unique scents and flavors.
- Share and Enjoy:
- Share your homemade lip balms with friends and family or keep them all to yourself for indulgent self-care moments. Enjoy the nourishing benefits of your all-natural creations!


