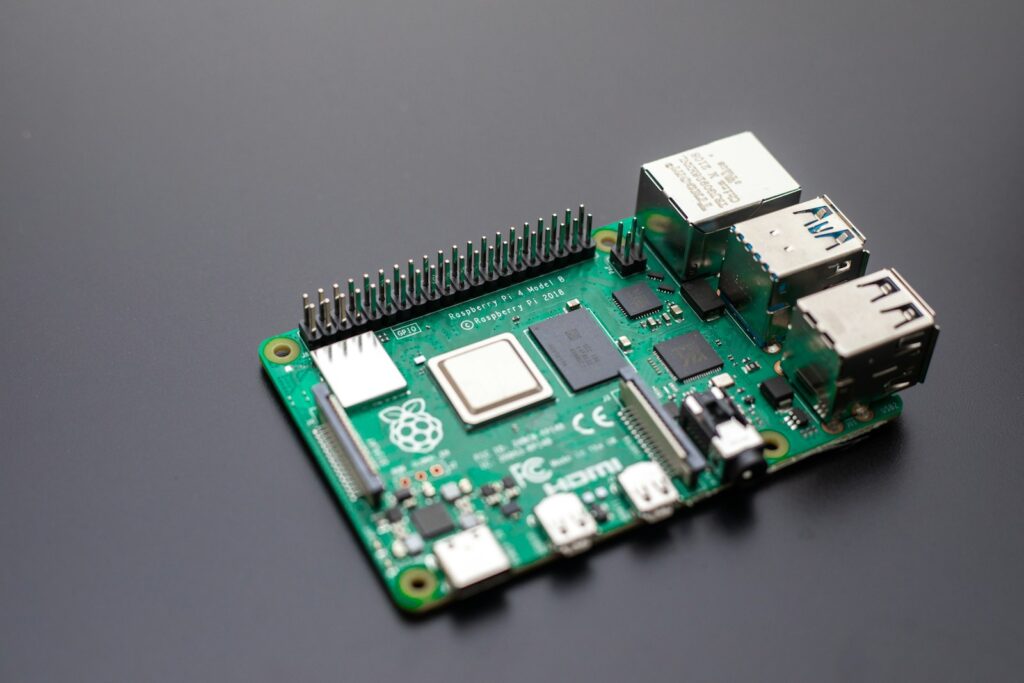
Electronic Raspberry Pi Computer, Embark on an exciting journey into the world of DIY electronics by building your own Raspberry Pi computer! Raspberry Pi is a versatile and affordable single-board computer that can be used for various projects, from gaming consoles to home automation systems. In this tutorial, we’ll guide you through the process of assembling and setting up your own Raspberry Pi computer, empowering you to explore the limitless possibilities of this powerful mini-computer.
Materials Needed:
- Raspberry Pi board (e.g., Raspberry Pi 4 Model B)
- MicroSD card (16GB or larger)
- Power supply (5V USB-C)
- HDMI cable
- USB keyboard
- USB mouse
- Monitor or TV with HDMI input
- Ethernet cable (optional, for wired internet connection)
- USB WiFi dongle (optional, for wireless internet connection)
- Raspberry Pi case (optional, for protection and aesthetics)
Step-by-Step Tutorial:
- Prepare the MicroSD Card: Download the latest Raspberry Pi operating system (Raspbian) from the official website and flash it onto the MicroSD card using a computer. Follow the instructions provided on the Raspberry Pi website or use a tool like Etcher for this process.
- Insert the MicroSD Card: Insert the prepared MicroSD card into the MicroSD card slot on the Raspberry Pi board.
- Connect Peripherals: Connect the USB keyboard and mouse to the USB ports on the Raspberry Pi board. Connect the HDMI cable from the Raspberry Pi to the monitor or TV.
- Power Up: Connect the power supply to the Raspberry Pi board via the USB-C port. The Raspberry Pi will boot up and display the Raspbian desktop environment on the monitor or TV.
- Initial Setup: Follow the on-screen prompts to set up your Raspberry Pi, including selecting your language, timezone, and WiFi network (if applicable). Create a username and password for your Raspberry Pi account.
- Explore Raspbian: Once the setup is complete, you’ll be greeted with the Raspbian desktop. Take some time to explore the pre-installed applications and utilities, such as the web browser, text editor, and programming tools.
- Install Additional Software: Use the built-in package manager (apt) to install additional software packages and utilities as needed. You can also download and install software from the Raspberry Pi’s official software repository.
- Customize Your Setup: Customize your Raspberry Pi setup according to your preferences, such as changing the desktop wallpaper, adjusting display settings, and installing themes.
- Experiment and Learn: Now that your Raspberry Pi computer is up and running, the possibilities are endless! Experiment with programming, electronics projects, gaming, multimedia, and more using the Raspberry Pi.
- Share Your Projects: Share your Raspberry Pi projects and creations with the Raspberry Pi community online through forums, blogs, and social media platforms. Get inspired by others’ projects and collaborate on new ideas!


