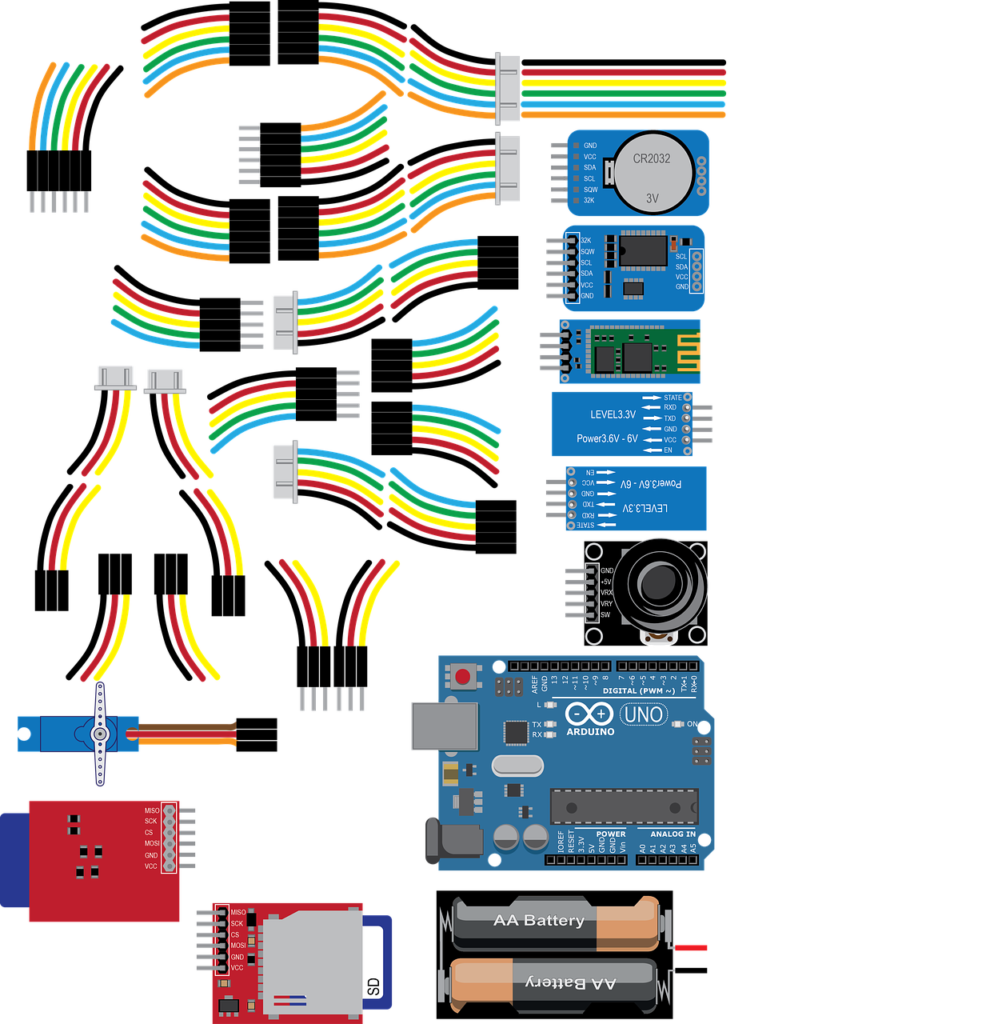
How to Start Arduino Programming, Arduino is an open-source electronics platform based on easy-to-use hardware and software. It’s perfect for beginners and hobbyists who want to create interactive projects and prototypes. In this tutorial, we’ll provide an introduction to Arduino programming, guiding you through the process of setting up your Arduino board, writing your first program, and exploring the basics of coding and electronics.
Materials Needed:
- Arduino board (e.g., Arduino Uno or Arduino Nano)
- USB cable (Type-A to Type-B)
- Computer with Arduino IDE (Integrated Development Environment) installed
- Breadboard
- Jumper wires
- LEDs (various colors)
- Resistors (220 ohms)
- Pushbuttons
- Potentiometer
- Light-dependent resistor (LDR)
Step-by-Step Tutorial:
- Install Arduino IDE: Download and install the Arduino IDE from the official Arduino website (https://www.arduino.cc/en/software) for your operating system (Windows, macOS, Linux).
- Connect Arduino Board: Connect your Arduino board to your computer using the USB cable. The Arduino IDE should automatically detect the board.
- Open Arduino IDE: Launch the Arduino IDE and navigate to File > New to open a new sketch (program).
- Write Your First Program: Enter the following code into the Arduino IDE to blink an LED:
void setup() {

pinMode(LED_BUILTIN, OUTPUT);

}digitalWrite(LED_BUILTIN, HIGH); // Turn the LED on
delay(1000); // Wait for 1 second
digitalWrite(LED_BUILTIN, LOW); // Turn the LED off
delay(1000); // Wait for 1 second
}
- Upload the Program: Click the “Upload” button (right arrow icon) in the Arduino IDE to compile and upload the program to your Arduino board.
- Observe the LED Blink: Once uploaded, you should see the onboard LED on your Arduino board blinking on and off at one-second intervals.
- Experiment with Components: Now that you’ve written your first program, experiment with connecting additional components to your Arduino board, such as LEDs, pushbuttons, and sensors.
- Modify and Expand: Modify the code to control multiple LEDs, create patterns, or respond to sensor inputs. Explore the Arduino documentation and online tutorials for inspiration.
- Learn Basic Concepts: Familiarize yourself with basic programming concepts such as variables, functions, loops, and conditional statements as you explore Arduino programming.
- Join the Community: Join online forums, communities, and maker spaces to connect with other Arduino enthusiasts, share your projects, and seek advice and inspiration.


