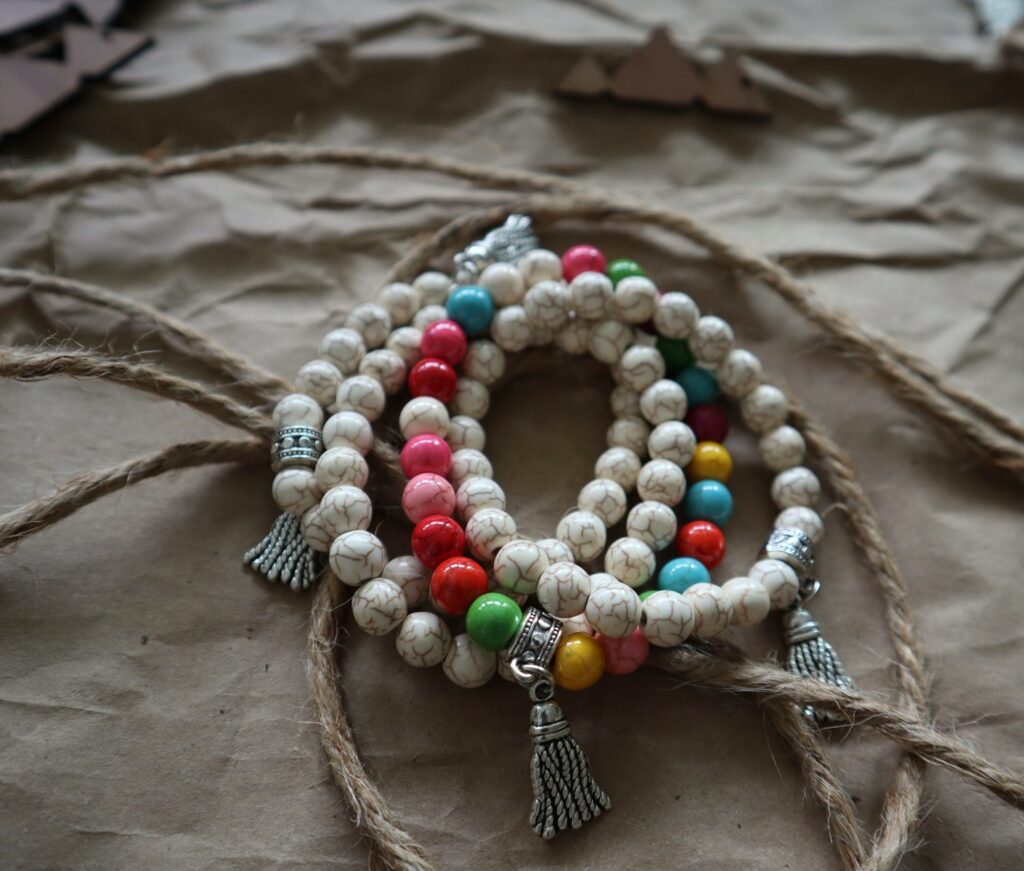
Diy How To Craft Beaded Bracelets Creating your own beaded bracelets allows you to express your unique style and creativity. In this tutorial, we’ll explore how to craft personalized beaded bracelets using a variety of beads and techniques. Whether you’re making bracelets for yourself or as gifts for friends and family, this tutorial will guide you through the process step by step.
Materials Needed:
- Assorted Beads (glass, plastic, wood, gemstone, etc.)
- Beading Wire or Stretch Cord
- Crimp Beads or Bead Tips (if using beading wire)
- Clasps or Toggle Closures
- Beading Needle (optional)
- Jewelry Pliers (round-nose, chain-nose, and crimping)
- Bead Board or Tray (optional, for organizing beads)
- Scissors
- Tape Measure or Ruler
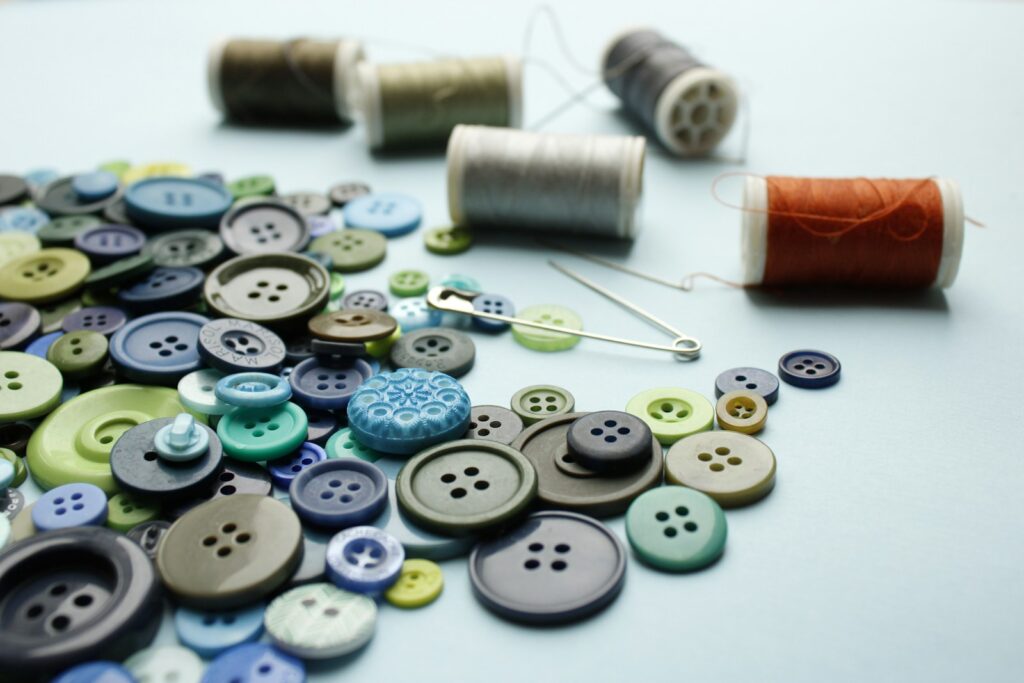
- Jewelry Findings (jump rings, bead caps, spacer beads, etc.)
Step-by-Step Tutorial:
- Choose Your Beads:
- Select a variety of beads in different colors, sizes, and shapes to create interest and texture in your bracelets. Consider mixing and matching beads to achieve your desired look.
- Measure Your Wrist:
- Use a tape measure or ruler to measure your wrist size. Add an extra inch for a comfortable fit and room for the clasp.
- Cut Your Cord:
- Cut a length of beading wire or stretch cord according to your wrist measurement, plus a few extra inches for knotting and attaching the clasp.
- Plan Your Design:
- Lay out your beads on a bead board or tray to experiment with different bead combinations and patterns. This will help you visualize your design before stringing the beads.
- String Your Beads:
- Begin stringing your beads onto the cord, following your chosen design. Use a beading needle if necessary to help thread smaller beads or beads with small holes.
- Add Accents and Spacers:
- Incorporate spacer beads, bead caps, or other decorative accents between your larger beads to add visual interest and dimension to your bracelet.
- Secure the Ends:
- Once you’ve finished stringing your beads, secure the ends of the cord by tying a knot or using crimp beads and crimping pliers. Trim any excess cord with scissors.
- Attach the Clasp:
- If using a clasp closure, attach it to the ends of the cord using jump rings and jewelry pliers. Make sure the clasp is securely fastened to prevent your bracelet from coming undone.
- Check the Fit:
- Test the fit of your bracelet by trying it on your wrist. Adjust the length if necessary by adding or removing beads or adjusting the closure.
- Enjoy Your Custom Bracelet:
- Once your bracelet is finished and adjusted to the perfect fit, wear it with pride or give it as a thoughtful handmade gift to someone special.


