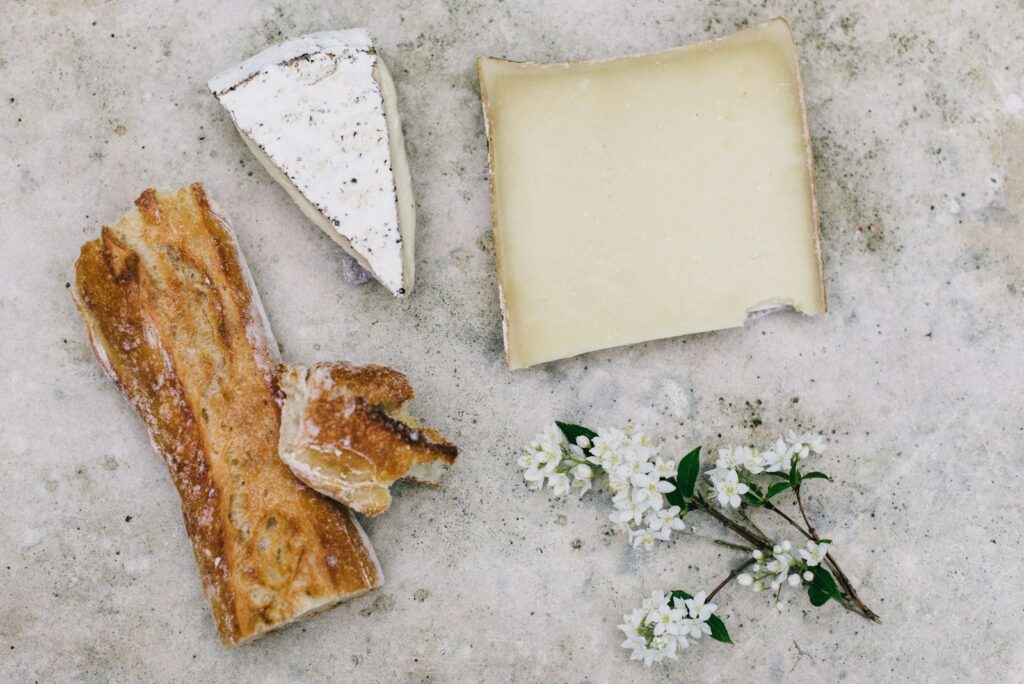
DIY How To Make Artisanal Cheese at home is a rewarding and delicious hobby that allows you to experiment with different flavors and textures. In this tutorial, we’ll explore the step-by-step process of crafting your own cheese from scratch. From selecting the right ingredients to aging and flavoring your cheese, you’ll learn everything you need to know to become a cheese-making pro.
Materials Needed:
- Milk (cow’s milk, goat’s milk, or other alternatives)
- Cheese Cultures (mesophilic or thermophilic)
- Rennet (vegetarian or animal-derived)
- Cheese Salt (non-iodized)
- Cheese Cloth or Butter Muslin
- Cheese Mold or Cheese Basket
- Thermometer
- Cheese Aging Container or Cheese Cave
- Flavorings (herbs, spices, fruits, etc., optional)
- Cheese Press (optional)
Step-by-Step Tutorial:
- Heat the Milk:
- Start by heating the milk to the appropriate temperature according to the type of cheese you’re making. Use a double boiler or a heavy-bottomed pot to prevent scorching.
- Add Cultures and Rennet:
- Once the milk reaches the desired temperature, add the cheese cultures and rennet according to the instructions provided with the product. Stir gently to distribute evenly.
- Allow Curds to Form:
- Let the milk sit undisturbed for the specified amount of time, allowing the curds to form and separate from the whey. The curds should have a custard-like consistency.
- Cut and Stir the Curds:
- Use a long knife to cut the curds into small cubes, then gently stir them to release more whey. The size of the curds will depend on the type of cheese you’re making.
- Drain the Whey:
- Line a cheese mold or basket with cheese cloth or butter muslin, then carefully ladle the curds into the mold, allowing the whey to drain away. Press the curds gently to remove excess moisture.
- Press the Cheese (Optional):
- If desired, use a cheese press to apply pressure to the curds, helping to shape the cheese and expel additional whey. Follow the recommended pressing time and weight for the type of cheese you’re making.
- Salt the Cheese:
- Sprinkle cheese salt over the surface of the cheese to enhance flavor and aid in preservation. Rub the salt gently into the surface of the cheese.
- Age the Cheese:
- Transfer the cheese to a cheese aging container or cheese cave, maintaining the appropriate temperature and humidity levels for aging. Different cheeses require different aging times and conditions.
- Flavor and Finish (Optional):
- If desired, experiment with different flavorings such as herbs, spices, fruits, or even beer or wine. Apply flavorings to the surface of the cheese or incorporate them into the cheese during the aging process.
- Enjoy Your Homemade Cheese:
- Once the cheese has aged to your desired flavor and texture, it’s ready to enjoy! Serve your artisanal cheese on a cheese board with crackers, fruit, and wine, or incorporate it into your favorite recipes.


