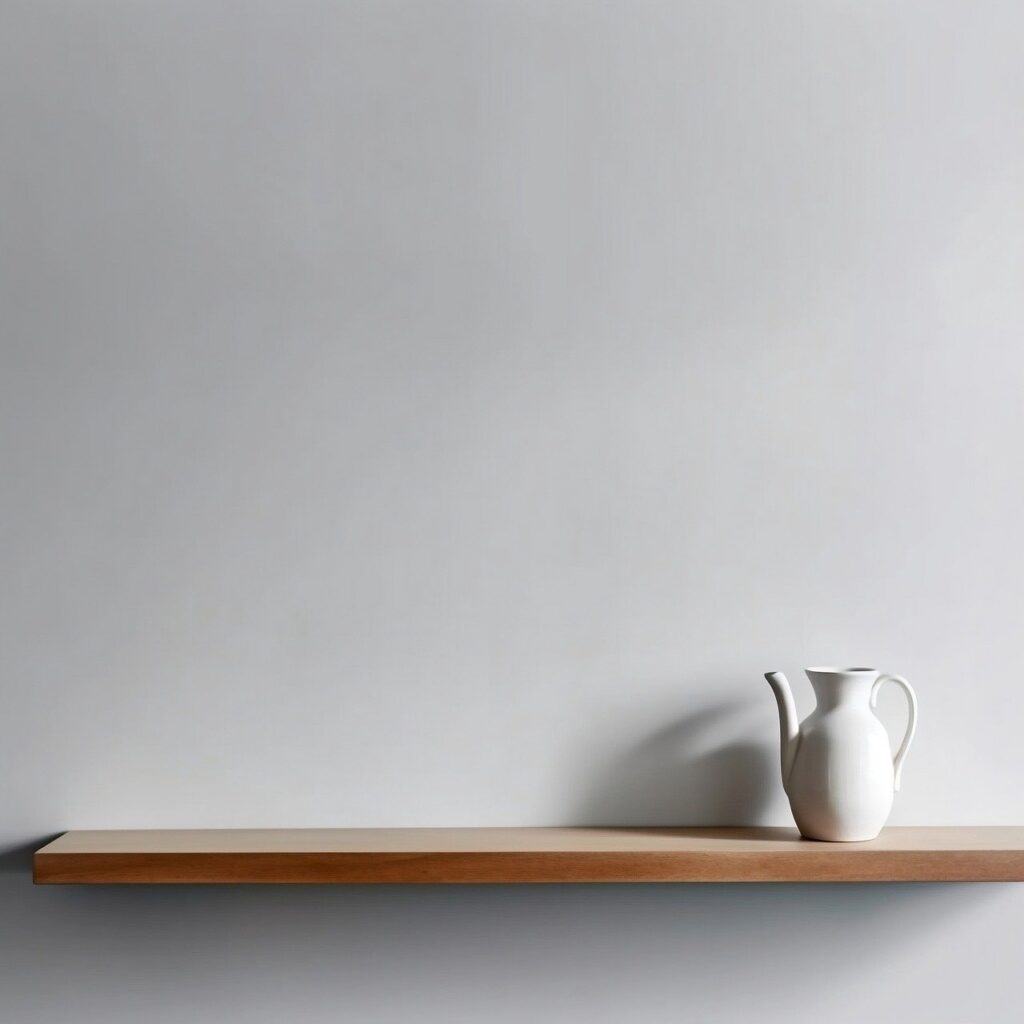
Materials Needed:
- 1×6 or 1×8 wood board (length of your choice)
- Wood stain or paint
- Sandpaper
- Wood screws
- Wall anchors (if necessary)
- Drill
- Level
- Measuring tape
- Pencil
Step 1: Prepare Your Wood Start by sanding your wood board to smooth out any rough edges or imperfections. You can use medium-grit sandpaper followed by fine-grit sandpaper for a smooth finish.
Step 2: Stain or Paint Your Wood (Optional) If you’d like to add color or protection to your shelf, now is the time to stain or paint it. Apply the stain or paint according to the manufacturer’s instructions and allow it to dry completely before proceeding.
Step 3: Measure and Mark Your Shelf Placement Using a measuring tape and pencil, mark the placement of your shelf on the wall. Use a level to ensure your marks are straight and even. Consider the height and spacing of nearby furniture or decor when determining the placement of your shelf.
Step 4: Attach Wall Brackets (Optional) If you prefer to use brackets to support your shelf, install them on the wall according to your marked placement. Use a drill to secure the brackets to the wall using screws and wall anchors if necessary.
Step 5: Install Your Wood Shelf Place your wood board on top of the installed brackets or directly onto the wall, depending on your preference. Use a level to ensure the shelf is straight and level. Adjust the position as needed.
Step 6: Secure the Shelf Once the shelf is in the desired position, use a drill to secure it to the wall brackets or directly to the wall. Drive wood screws through the bottom of the shelf into the brackets or wall studs to secure it firmly in place.
Step 7: Finishing Touches Double-check that the shelf is securely attached to the wall and level. Wipe down the shelf with a clean cloth to remove any dust or debris.
Conclusion: Congratulations, you’ve successfully created a DIY wood shelf for your home! We hope this tutorial was helpful and that your new shelf adds both style and functionality to your space. Stay tuned for more DIY projects from DIYHands!


